Toggle Nav

AD Quickbite - How to Tie a Withy Pool Rig
The whole idea of this rig is that it has a super-aggressive curve in the shrink tube. This makes it extremely difficult for the carp to eject once the fish has picked up the bait. Used with a pop up, the rig sits like a claw waiting to grab hold of the carp’s bottom lip. The tungsten putty used just below the shrink tubing helps bring the pop-up down to the lakebed. The other addition is the hook ring swivel. This gives the bait optimum movement, which is key to making this rig work as well as it does.
Here's the step by step guide to tying the Ridgemonkey withy pool rig.
Step 1
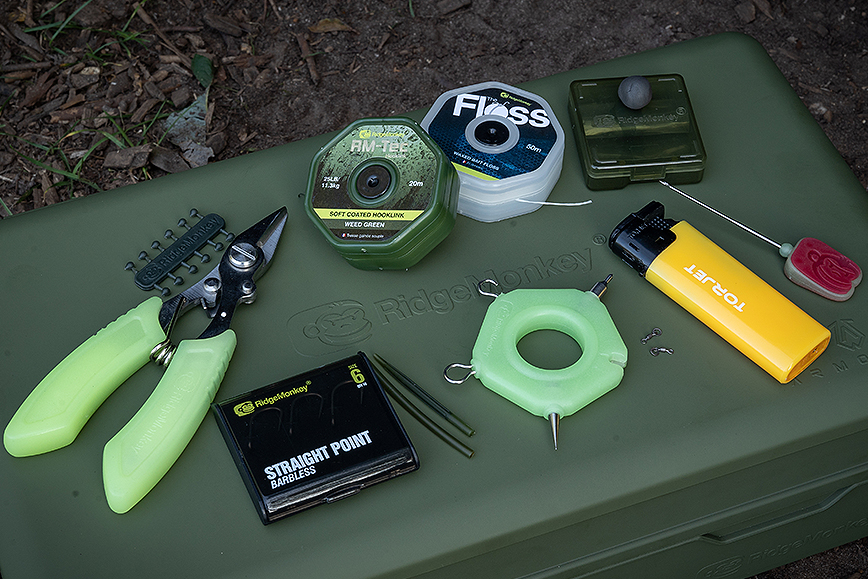
You will need the following:
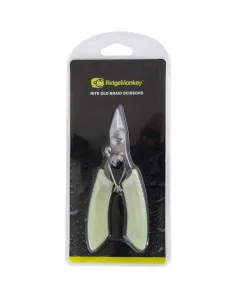
Ridgemonkey nite glow braid scissors
Ridgemonkey rm-tec mini hook swivels
Ridgemonkey bait floss
Ridgemonkey rm-tec hook ring stops
Ridgemonkey rm-tec soft coated hooklink
Ridgemonkey rm-tec anti tangle sleeves
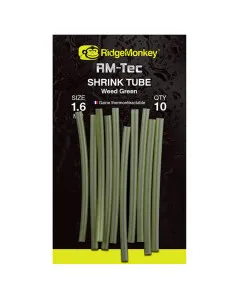
Ridgemonkey rm-tec 1.6mm shrink tube
Ridgemonkey rm-tec straight point hook size 6
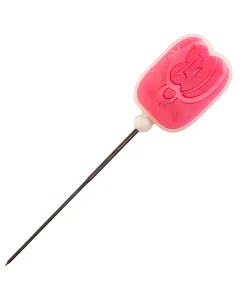
Ridgemonkey rm-tec nite glow braid needle
Ridgmonkey rm-tec multi tool
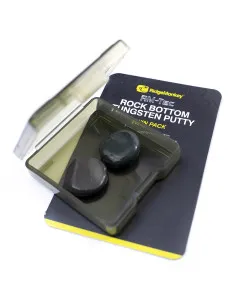
Ridgemonkey rock bottom tungsten putty
Step 2

Strip back 4-5 inches of the outer coating from the braid and attach your hook using the knottless knott.
Step 3

Slide a piece of shrink tubing down the hooklink and push it over the shank of the hook.
Step 4
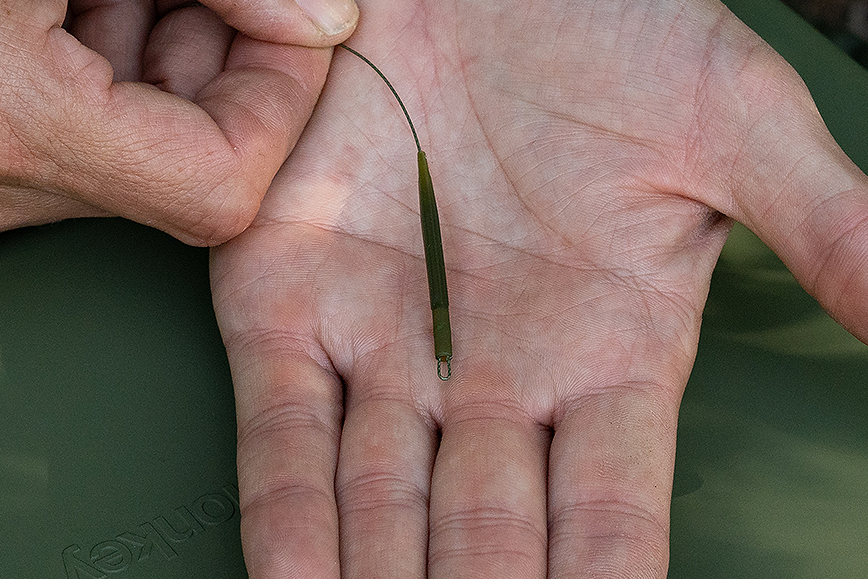
Thread an anti tangle sleeve onto the hooklink then tie a figure of eight loop.
Step 5

Submerse the shrink tubing in boiling water then carefully create an aggressive curve in the tubing with your fingers.
Step 6
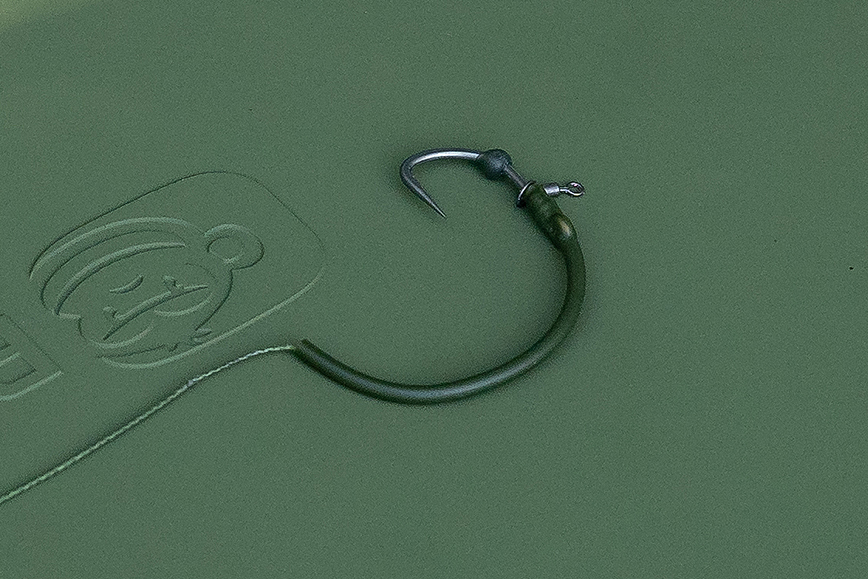
Slide the mini hook ring swivel onto the hook followed by the hook ring stop.
Step 7
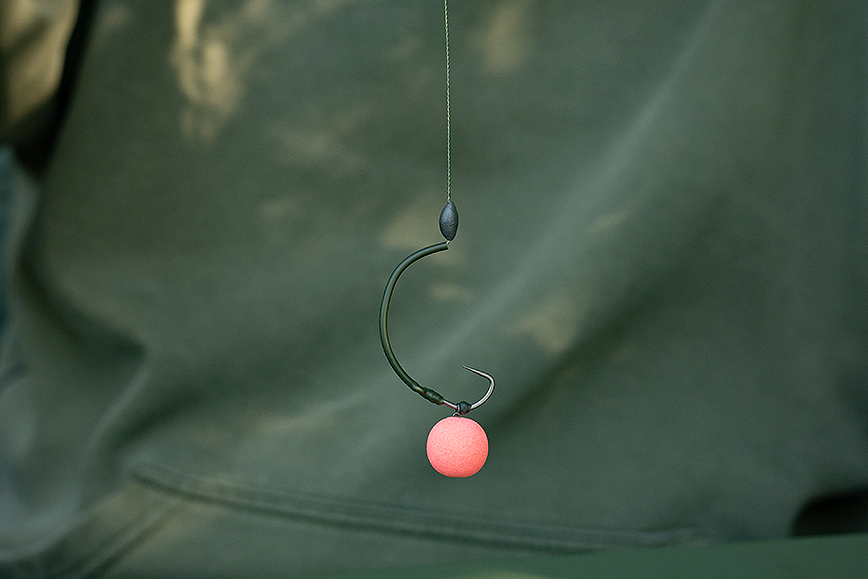
Add a pop up of your choice and balance with a small amount of tungsten putty.